Tuesday, 4 December 2012
Quarr Abbey
This is my first post as be DT member of the Try it on Tuesday blog - which is very exciting! I have joined a fabulous group of talented ladies so be sure to go and take a look at some of the gorgeous creations they have made for this challenge.
This fortnight is "Let's get Inky'! What a great initial challenge for me as I always struggle not to get inky!! The other bonus is that if you are not a Christmas crafter (and I am not!) this challenge is still right up your street.
We are sponsored this month by Delidious Doodles who are offering 4 digi stamps from their store - so don't miss you chance to be a winner!
I'm really excited to post this layout as I have been working hard on my techniques and style but am only just able to start posting my new creations ... so watch this space!! One of things I really wanted to achieve was a more seamless end result and so I've been getting through a fair bit of molding paste and acrylic paint lately and taken over the house whilst they all dry out!
This photo is of the ruins of Quarr Abbey on the Isle of Wight which actually now forms part of a farmhouse garden. There are great views over the ruined walls towards the mainland.
I used molding paste with a stencil to create the bricks and more paste and inks to blend out my photo. I decided to be quite bold with my colour scheme by adding the pink but I really like the end result.
I used acrylics and shimmerz inks for my background and added flourishes with a Lost Coast stamp. The bird and branch is by Maya Road and the flowers and butterflies are Prima.
The sheep stamp is part of an Artemia farmyard set (that I had no use for but fell in love with!) from a little craft shop in Cornwall.
Hope you are all having a great week ... x
Wednesday, 28 November 2012
Pumpkin Carving
For those of you who regularly visit my blog this page will be a bit 'deja vue' and you are right, this is second time lucky for my pumpkin carving page!
I've been working on creating blended layouts recently where my photos fall into the background so the page becomes like one big canvas rather than having elements layers onto the page. It's quite a tricky and time consuming process but I love the end result. However, in trying to do the same with these photos, I realised it is almost impossible with multiple photos with very different colour schemes.
So to cut a long story short, whilst I thought the end result was not the best I've achieved, I thought it did work ok. However, the photograph exposed all it's weaknesses and when I asked my family for their honest feedback ... well it wasn't exactly great!! So, I've dismantled it, binned it and removed the post (my mother always told me to leave my disasters in the kitchen so I'm metaphorically doing the same with that page!)
This layout is more along the traditional lines but it does work better on this occasion - I hope. It's not so much fun scrapping the same photos twice and I'm ready to move along, so I'm off to see how my next blended creation is going to turn out!
Hope you are all having a creative week ... x
Tuesday, 20 November 2012
I am not who I was yesterday ...
It's a really simple card - I embossed my little girl before swiping acrylic paint lightly across the card. I then wiped it back off her with a baby wipe.
The edge of the card is embossed with Cosmic Shimmer Golden Sparkle which is another of my favourite things at the moment. The sentiment is by Donna Downey and is stamped with StazOn onto a small metal tag.
The card looks really sweet in real life - something which doesn't really translate well in the photo.
So, that's it for cards. They are not my favourite things to make and so extra coffee and chocolate has been consumed this afternoon to get me going! Downside is that I'm going to have to work a bit harder at the gym tonight to make amends!!
Hope you are having a creative day wherever you are. The weather here is doing its best to dash all creativity - it's dark grey, windy and wet! Welcome to autumn in England!! x
Saturday, 17 November 2012
Sing Your Song
It's my Mum's birthday on Monday and so I've made this card for her. I don't know why, but I find cardmaking really challenging. I think it's because you can do absolutely anything as there's no photo to consider so I'm spoilt for choice and my indecisive side takes over! I start off well by gettting stamps and papers and inks out but end up with the most enormous pile so that I'm still no further forward!
Anyway, I decided to use this new bird stamp by Stampendous which is gorgeous and a great size. I stamped it with archival onto mulberry paper and tore it out. I coloured the bird with pencils before using Victorian Velvet, Spun Sugar and Vintage photo distress inks. As it was still too bright I spritzed it with Tea Stain re-inker diluted in water and then I gave it all a spray with Perfect Pearls Heirloom Gold.
The background was a combination of vintage dictionary paper and old music which I stamped with birdcages, swirls, words and little insects.
I cut the words from the edge of old music and distressed them with vintage photo. The little plaque was stamped onto a piece of Mariposa paper by DCWV.
I added two layers of lace along the bottom which I spritzed with chalkboard ink to match and I finished the card with some gold ink all around the edge.
I am entering this card into Divas by Design Challenge 61 Anything Goes, Gingerloft GL52 A Touch of Gold and Fashionable Stamping Challenge 34 - Musical
Off to make a cake now ... xx
Friday, 16 November 2012
Watch the Birdy
What a hoot this was!!
We visited Dimbola Lodge on the Isle of Wight whilst we were there on holiday this half term. The Lodge is the home of Julia Margaret Cameron who was a photographer in the mid 1800's and whose portraiture was very influential at the time.
Aside from all the rooms of her images, there is a dressing up room and once we got started, we couldn't stop and ended up spending over an hour in there perfecting our Edwardian poses for the camera!
The lighting was shocking so all the photos needed a lot of work in Photoshop but I'm pleased with the end result.
This layout is based on an old draughts board. I taped areas using masking tape before giving it a light coating of Gesso and then one of copper Steward Gill paint. Once both layers were dry, I stamped the filmstrip, butterflies and peacock feathers onto the board using Staz-on and arranged the cleudo cards and 'murder cards' pocket onto one corner. I added a little blue glitter stickle to the eye of each feather.
The grungy panel was added using Matt Medium and a combination of 2 embossing powders - Tattered Rose Distress and Silver Fox Enamelz. (It's not as shiny in real life - but it picked up my daylight lamp - evening photography has its drawbacks!)
The vintage image behind our photograph is from a book of old black and white photographs. It is translucent so that the board can still be seen behind it and this was achieved using transfer glaze.
The flower braid is by Tim Holtz and was spritzed with Shimmerz and the circles were cut using the washer board alterations die.
I cut the bird from balsa wood using a sizzix die which I then spritzed, applied silver gilding paste and a swirl stamp.
I inked and stamped a small tag to go in the murder cards pocket, detailing the date and location of the photograph, fixed down the draughts pieces and film strip and completed my layout with Tim Holtz Alphaparts letters for the title.
I hope you like the end result and our rather sober expressions and ridiculous outfits bring a smile to your face! x
Thursday, 15 November 2012
Leave only Footsteps
Who can resist the beach? This natural arch is at Perranporth beach in Cornwall and makes such a gorgeous frame it was crying out to be photographed and scrapped!
There were so many processes with this page that I wont try to itemise them all but it started with a collage of vintage papers and music which I then inked and stamped. I created the large glossy grungy panel using matt medium and embossing powers.
I had intended to create a line of white footprints across the page but due to not having an iron with me at the weekend, this was hard to achieve with a heat gun. I've managed to create a couple but that's always the downside of being away from your own desk!!
The photos were torn and inked or dipped in sand from my local beach. The gorgeous wooden embellishment was sprayed with Shimmerz inks and the playing card had paper transferred to it with matt medium and then tinted with alcohol ink.
The alphabet is by Darkroom Door which I cut, inked and mounted using dimensional gel.
Have a crafty day and thanks for stopping by ... x
Wednesday, 14 November 2012
Snakes & Ladders
I inked up two plain tags with distress ink and then hit the Frantage again (I can't resist it!!). This time I used a combination of silver and Pearlized mica fragments. The chance card is from an old monopoly set which I stamped and inked and the card behind is actually the 10 of clubs which I lightly painted and rubbed off before inking with black soot. The third tag was inked and stamped and then silver embossed around the edge.
I wrote the sentiment in an italic style onto strips of cream cardstock which I tore and inked. A couple of strips of tissue tape and a few metal embellishments, including a lovely glass bead which I attached to a vintage brass chain completed the layout.
I hope you like it!
Have a great day and keep an eye out for those slippery snakes!! x
Corrugated Page
I'm just back from a lovely scrapbooking weekend in Devon. I love the creative atmosphere that is generated when people all come together, as my art is usually such a solitary activity. I also cherish being able to craft for as long as you want without having to stop and make meals or do the laundry!! What a luxury!
We were concentrating on using game pieces and so this layout features large jigsaw pieces. I used these pieces to link into the photos I had taken of two of my boys who often fall into step together when we are out for family walks.
I started by using acrylic paints on my card and then I used shabby ivory embossing enamel on the opposite corners and embedded Frantage gilded micra fragments whilst it was still hot.
The jigsaw pieces were covered with old dictionary paper and an old map which I then distressed and stamped onto. The boys' initials were cut from a vintage pictorial alphabet book. The little metal number was tinted with pesto acohol ink, as was the small sprocket.
I stamped the sentiment using individual alphabet stamps from 4 different packs onto some Kraft Resist paper which I then distressed with Shabby Shutters. A few more cogs and sprockets and one of Prima's gorgeous lightbulbs completed the layout.
Hope you are having a good week ... thanks for stopping by! x
Tuesday, 6 November 2012
Do Not Disturb
I like to work on canvas as well as paper and this was a lot of fun to make.
I started with a plain background and then played with various masks and stencils to create interest. I hand drew the tree and painted it with different shades of brown acrylic and included a few knots and knarls for realism!!
All the stamps are by Crafty Individuals - even the bunnies which I stamped and enlarged on my printer as they started out way smaller than the blue tit! The flowers were a free stamp CI sent me with my last order so I stamped them twice each, cut them out then doubled them up for frillier blooms! The stalks are made from string which I inked with distress.
The eggs are coloured with alcohol inks and the little sign was made on my vintage typewriter, edged with Stewart Gill 'Medallion' embossing powder and attached with a little turquoise wire.
Thanks for stopping by and hope you are all having a crafty week ... x
Monday, 22 October 2012
Get Well Soon
I set out to make a card for a good friend of mine that's not too well at the moment but it was one of those days. You know the ones where nothing goes to plan! So, this is my FOURTH attempt at the background ... one layer was brayered and every time it just went wrong and had to be binned. I am talking seriously unrecoverable!!
Worse still, in between drying times, I was finishing another new piece which involved gluing a large piece of tissue paper which I had printed text onto. Well, I should have know better than to attempt it today as I battled with it all covered in glue and ready to fall apart at any moment! Yep - it folded in on itself, ripped in half and generally misbehaved! I had to reprint it THREE times and unjam the printer TWICE!!!
But finally, I am done. I can send the card to my friend and sit back and admire the tissue paper with a well earned cuppa.
Hope your day has gone better than mine! xx
Thursday, 11 October 2012
Fly
I have just discovered Fran-tage by Stampendous and I LOVE IT!! The shabby embossing enamels are beautiful and as for the mica fragments ... well don't get me started!!
The birdcage is cut from Tim Holtz Kraft resist paper which I then inked and made little dangly pendants for the bottom.
I cut the birds with my cricut and stuck them onto wire and allowed to dry.
I painted the old watch face with Viva Gold metal paint and used PVA around the edge before dipping it into Cosmic Vintage Mica Flakes. The words are a Stampotique stamp which I stamped and embossed in black before embossing the ends with Fran-tage and mica flakes.
I love the soft summery shades the Fran-tage adds - hopefully it will remind me of summer now we are getting grey rainy days :(
I have entered this into the following challenges:
Crafty Mess - 19th Challenge: Anything Goes
Craft Pad - No. 191 Vintage
Stampin' for the Weekend - Challenge 18: Feeling Floral
That Craft Place - Make you own Background
Totally Gorjuss - Punch and Die
Hope you are having some sunshine wherever you are ... x
Thursday, 4 October 2012
Listen to your Dreams
I started my card with a sheet of paper from the Bohemian range by Craftwork Cards. I then stamped flourishes and the gothic windows. The eye and mouth were stamped onto Lost & Found paper I added a little glitter to the corner of each using Copper Kettle and Golden Sparkle embossing powder.
I stuck the papers down and whizzed it under my sewing machine to add some further interest before fixing it to my card and adding the metal embellishments.
I am entering my card into the following challenges:
Gingerloft Challenge GL49 - Stitching Real or Faux
Simon Stays Stamp - Glimmer & Sparkle
Wednesday, 3 October 2012
Magical Card
A little card featuring doodling and a magical castle which I've made just for fun. I hadn't used this stamp in a while and fancied a bit of a magical moment ... so what better thing to do?!!
The background was created with Dylusions inks and white Indian calligraphy ink. The spotty border was stamped using a Differentcolors stamp which I cut down to a narrow size before doodling around the edge.
I coloured the castle with distress markers which I love (one of my best recent purchases!) and I finished the card with a Stampotique flower stamp to which I added silver sparkly centres.
Hope your day has had some magic too ...
x
Tuesday, 2 October 2012
Woodland Bird House
I bought this MDF birdhouse last week at The Big Stamp Show held at Alexandra Palace in London. It is actually a money box with a slot in the roof, but as I have no use for that, I covered the slot when I made my new roof!
The roof is covered with Ten Second Studio metal which I have embossed and sanded. I wanted to add a decorative roof edging so I used Art Parts by Studio 490 which I painted and stamped.
I altered the entire birdhouse to look like white peeling weathered wood and I stamped leaves and flowers in chalk ink using some gorgeous new stamps by Differentcolors who are based in The Netherlands. A few Lost Coast butterflies finished the background. The picket fence is an alterations die which I painted with dabbers in two shades.
The birds and branch are by Maya road. I painted the branch with acrylic paint and covered the birds in old text before tinting them using distress markers. I added a small crystal for an eye and part embossed the larger bird with some Golden Sparkle embossing powder by Cosmic Shimmer which I got at the Show. The little nest is from The Range; it came in a pack of 6 around Easter time and I tinted the eggs with alcohol ink. The butterfly is a download from Divas D'Este.
The final addition was the sentiment which is a Unity Stamp by Donna Downey.
The bee is Stampotique stamp by Jo Capper-Sandon.
It was really fun making this house, which is for my new studio. I'm entering it into 'Lots of Layers' challenge on Try it on Tuesday, into 'Birds, Butterflies & Bees' challenge with The Stamp Man and also Challenge 3 on Anything But a Card
Have a happy day ... x
Monday, 1 October 2012
Altered Bunting
I had this paper bunting from our camping trip and decided to give it a makeover. It took a bit of time as there are 16 little flags, but it's finally done and I'm really pleased with it. It will hang in my new craft studio (which is yet to be built but that's another story!)
Each flag has a message which I hope will inspire me as I work ...

Monday, 17 September 2012
Big Bunny
Well, I've been busy doing loads of projects but as I'm entering them for various things, I can't put them on my blog.
However, I can introduce you to the newest member of our household. Enter stage ... Pete!
He's a rare breed - an English Lop and his ears measure 2' from one end to the other!! However, the breeder who owned him has got a new male rabbit with even bigger ears so Pete needed to be retired and found a loving home. Well ... how could we resist?
I think he's every bit a good a post on my blog as any of my crafty project ... hope you agree!!
xx
Thursday, 6 September 2012
Beach Painting
Well ... if you live a tourist area and the sun is shining you may as well join in the fun and be a tourist yourself!!
So the other day I caught the open top bus which goes from the end of my road to Swanage, a small seaside town on the Purbecks. The route goes through Sandbanks and onto the chain ferry to cross the mouth of the harbour. I sat on the top listening to my ipod and ducking the occasional stray branch and it was glorious.
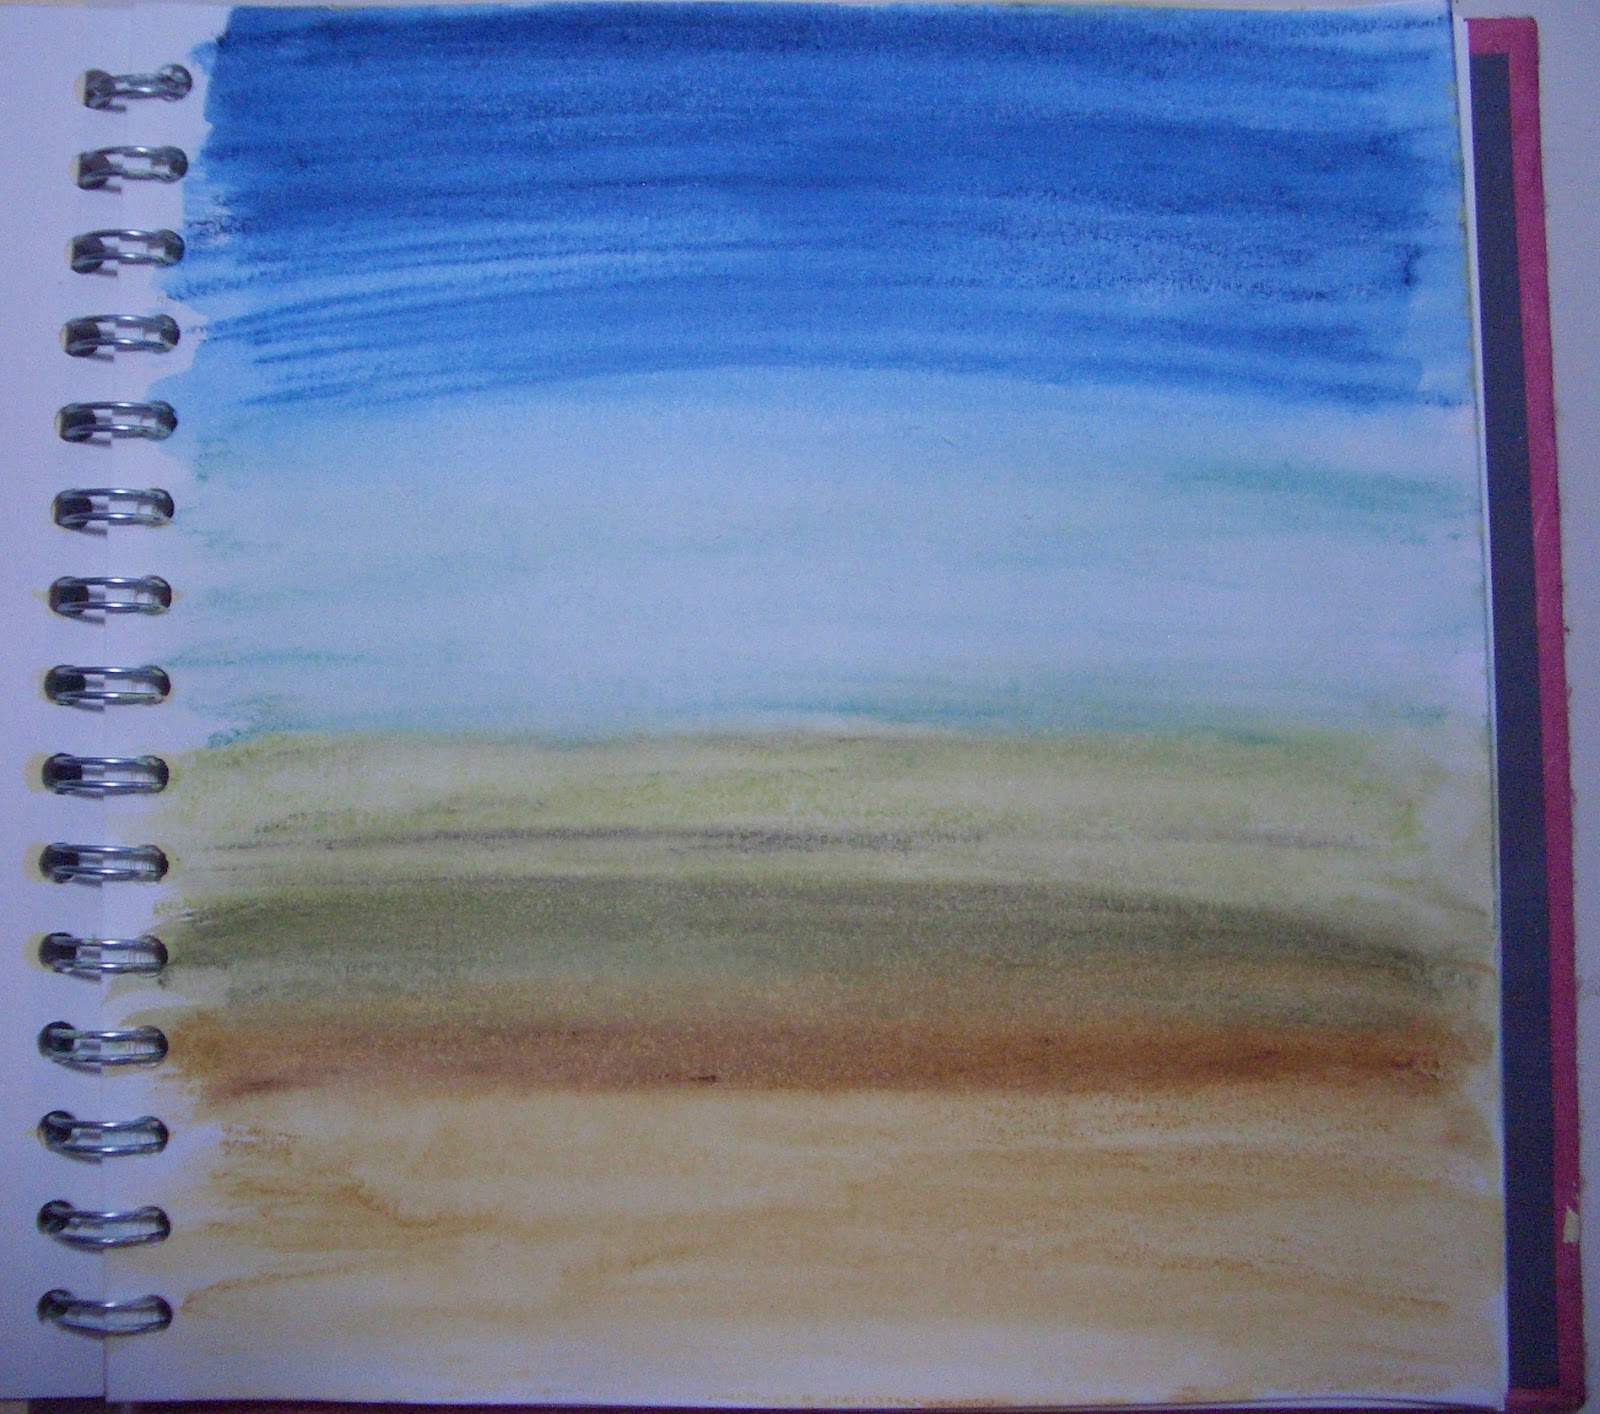
I chose a spot up on a small grassy hill overlooking the busy beach, ate my picnic and played with my watercolour crayons all afternoon - what a treat. My aim was to try and capture the colours and textures of the beach and the sea and then incorporate them into my layouts. Not sure how I am going to move this idea forward but it you dont start to play ...
I was not successful in all my efforts but it was such fun and something I want to try to do more of - nature always picks the best combinations so that's got to be good starting point for art.
Keep experimenting and have a good weekend ... xx
Seashells
We visited Lulworth Cove recently and took a clifftop walk. The weather was perfect for walking and the views of Durdle Door were breathtaking.
After the walk we strolled to Lulworth beach and bought some fresh fish from the little shop that sells some of the local catch. I took this photo as we looked back up the lane through the village.
I created the background paper by layering and painting old sheet music and book pages which I then stamped and inked.
The filmstrip is an alterations die which I have cut from co-ordinations paper and sanded back heavily and added picket fence distress stain. I used a paint colour selector card which I stamped with different mini stamps all by The English Stamp Company.
The street lamp is by Dusty Attic and the butterfly is by Lost Coast Designs. The cottages are by Crafty Individuals.
Keep smiling ... the sun's out at last!!
x
Subscribe to:
Posts (Atom)