Disclaimer

"Some of the products used on my blog may have been provided by the vendors mentioned in my posts."

Monday, 1 October 2012

Altered Bunting

So the Jubilee celebrations are now over and fast becoming a distant memory, along with the little sunshine we had this year!!

I had this paper bunting from our camping trip and decided to give it a makeover.  It took a bit of time as there are 16 little flags, but it's finally done and I'm really pleased with it.  It will hang in my new craft studio (which is yet to be built but that's another story!)


  Each flag has a message which I hope will inspire me as I work ...


Monday, 17 September 2012

Big Bunny


Well, I've been busy doing loads of projects but as I'm entering them for various things, I can't put them on my blog.

However, I can introduce you to the newest member of our household.  Enter stage ... Pete!

He's a rare breed - an English Lop and his ears measure 2' from one end to the other!!  However, the breeder who owned him has got a new male rabbit with even bigger ears so Pete needed to be retired and found a loving home.  Well ... how could we resist?

I think he's every bit a good a post on my blog as any of my crafty project ... hope you agree!!

xx


Thursday, 6 September 2012

Beach Painting


Well ... if you live a tourist area and the sun is shining you may as well join in the fun and be a tourist yourself!!

So the other day I caught the open top bus which goes from the end of my road to Swanage, a small seaside town on the Purbecks.  The route goes through Sandbanks and onto the chain ferry to cross the mouth of the harbour.  I sat on the top listening to my ipod and ducking the occasional stray branch and it was glorious.

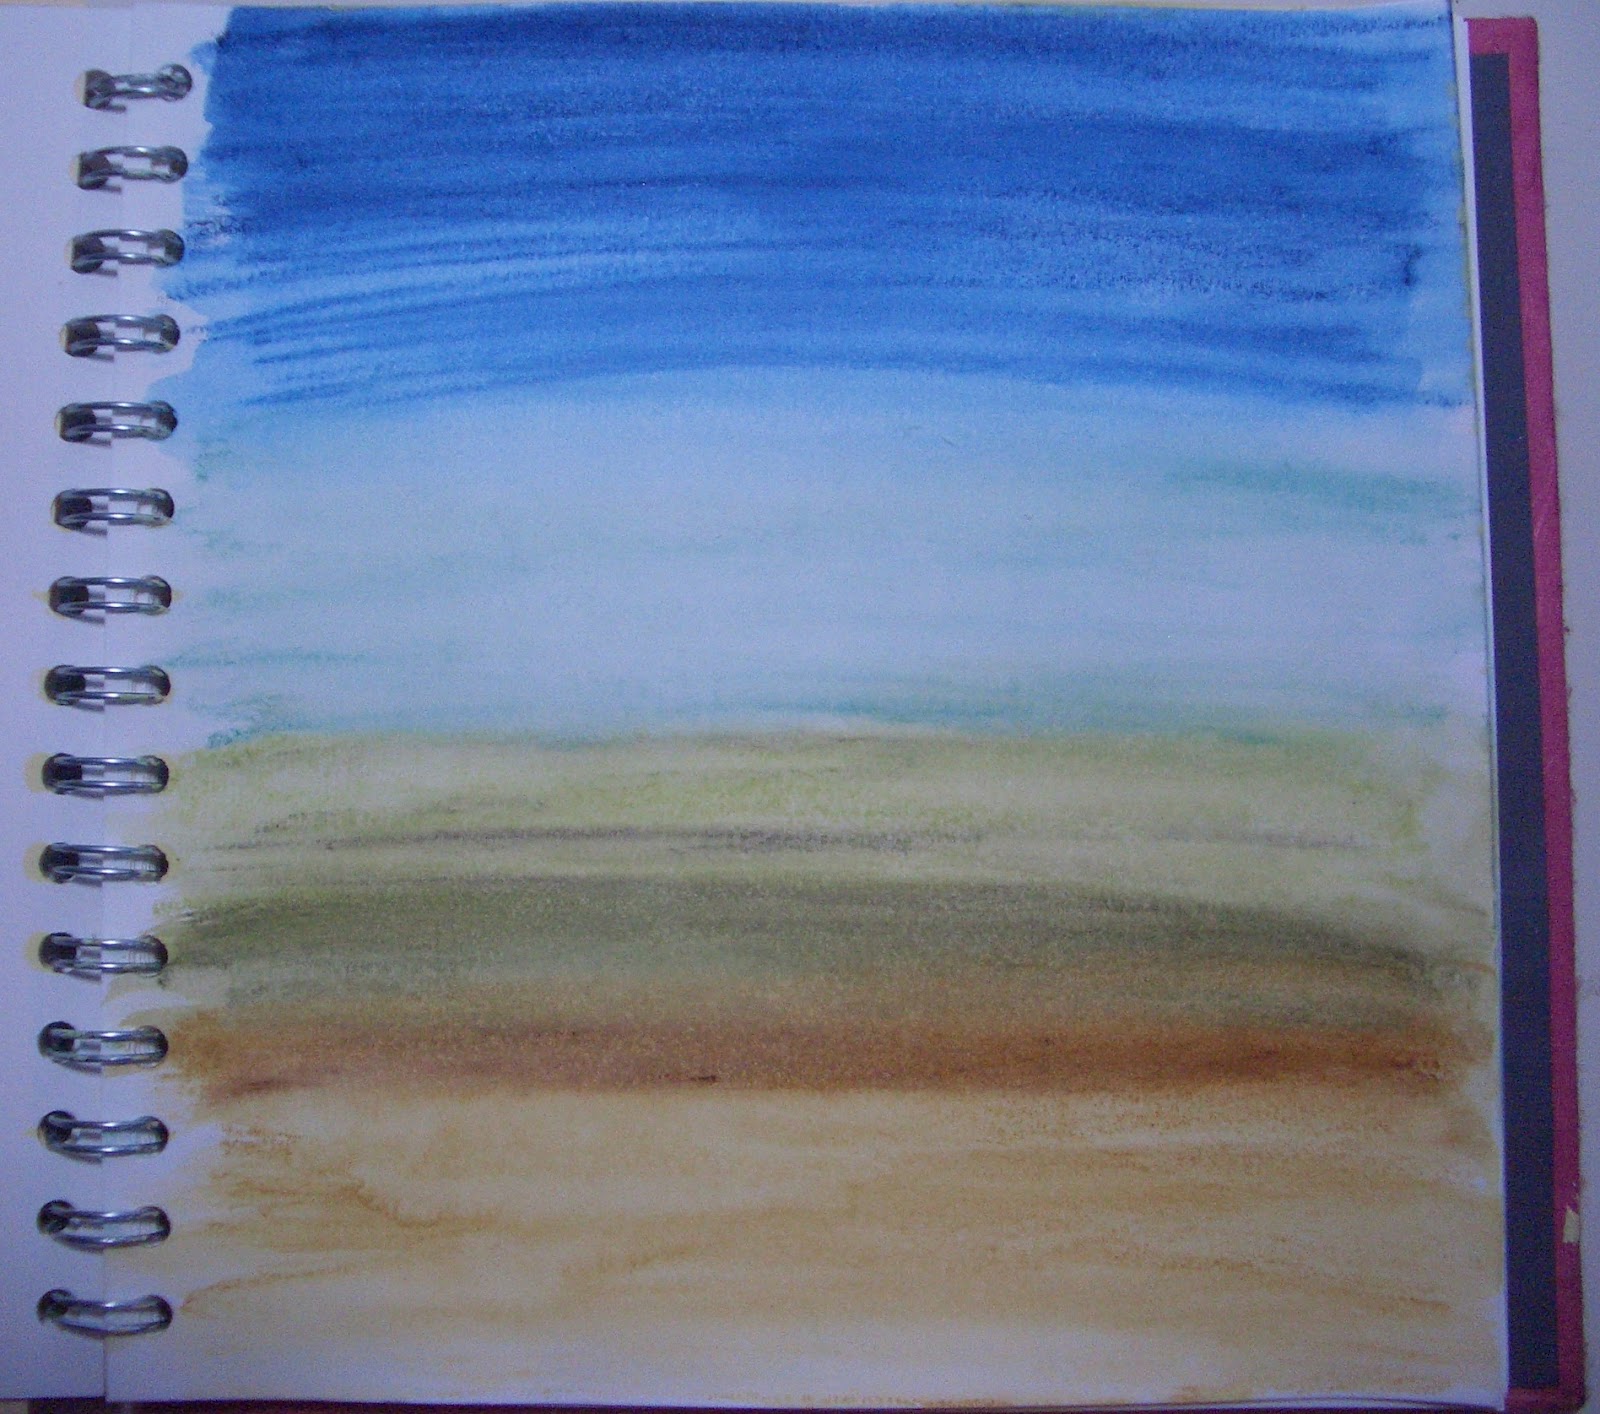
I chose a spot up on a small grassy hill overlooking the busy beach, ate my picnic and played with my watercolour crayons all afternoon - what a treat.  My aim was to try and capture the colours and textures of the beach and the sea and then incorporate them into my layouts.  Not sure how I am going to move this idea forward but it you dont start to play ...

I was not successful in all my efforts but it was such fun and something I want to try to do more of - nature always picks the best combinations so that's got to be good starting point for art.

Keep experimenting and have a good weekend ... xx


Seashells


We visited Lulworth Cove recently and took a clifftop walk.  The weather was perfect for walking and the views of Durdle Door were breathtaking.  

After the walk we strolled to Lulworth beach and bought some fresh fish from the little shop that sells some of the local catch.  I took this photo as we looked back up the lane through the village.

I created the background paper by layering and painting old sheet music and book pages which I then stamped and inked.

The filmstrip is an alterations die which I have cut from co-ordinations paper and sanded back heavily and added picket fence distress stain.  I used a paint colour selector card which I stamped with different mini stamps all by The English Stamp Company.

The street lamp is by Dusty Attic and the butterfly is by Lost Coast Designs.  The cottages are by Crafty Individuals.

Keep smiling ... the sun's out at last!!

x


Wednesday, 8 August 2012

Getting Some Inspiration ...


Heard this song on my friend's blog and been a fan ever since.  I have found it very meaningful and uplifting - hope you like it too.

x


Sunday, 5 August 2012

Knickerbocker Glory


WOW!  WOW! WOW!

What else can you say?  Gorgeous raspberry knickerbocker glories for dessert.

Mum certainly knows how to spoil me and the children!!

X

Butterfly Canvas


I recently got a card through to door to collect a parcel from the local sorting office.  I was mystified as to what is was as I hadn't ordered anything that I could remember.  So, what a lovely surprise it was to collect the parcel and find it was a top which my Mum had bought for me as a treat!  It has purple and mauve butterflies diagonally across the front with little silver studs in between and is gorgeous.

I wanted to make something to thank her and use the butterfly theme.  I started by making the large alterations butterfly with acetate behind the wings which I coloured with alcohol inks.  I then used distress stains to create my background and I added distress inks to increase the colour on various parts. 
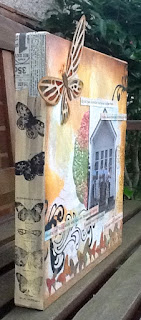
The butterfly border is another Tim Holtz die which I cut from some of his District Market paper and coloured with Mica Powders so they shimmer subtly on top of the background writing.  The large swirl stamp and the seed head stamp is by Donna Downey.

The doily was spritzed with glimmer mists and very carefully allowed to dry as doilies fall apart very easily once sprayed!  

The photograph is of the children and is printed out onto canvass and the journalling is printed onto cardstock which I tinted with inks.  The journalling reads: 

It's not just Butterflies that Emerge in New Forms, 
Children MetamorphoseRight in Front of Your Eeyes, 
Chaning into Young Adults with their own Thoughts and Opinions, 
Something that is Truly Amazing.  
It's the Best Journey to be a Part of.

I bought a canvas and painted the edges to match my project with acrylic paints.  I stamped butterflies on all the edges and used Tissue Tape for added interest.  Once dry, I fixed the project to the canvas.

I hope Mum likes it as I was pleased with the end result.


Dream Tag


Just a little tag ...

Sunset


I have had this layout half finished on my desk since May! 

I started it during the scrapping weekend I went on in Cornwall and due to the building work and now school holidays, it has been waiting to be completed ever since - oh dear!

The background was created with moulding paste and stencils and stamps which I then painted with Stewart Gill paints when it was dry.

I used some Fresco Flakes (Stewart Gill) for added dimension.

The journalling is created on painted masking tape.

The photo was taken during out holiday in Phuket in April - Thailand certainly gets some of the best sunsets ...


Thursday, 21 June 2012

Grinding to a Halt ...

Work has started on The Shack (long overdue!) but it does mean that as I sit in my crafty space, I have a massive digger rolling by within 3m of me which doesn't do a lot for creativity!  I have also offered to run the school fair which is being held in 2 weeks' time and is a large scale event so apologies but a distinct lack of posts or time to see what everyone else is up to is the outcome of these two events!!

So, we started by emptying out the swimming pool ready for the arrival of the diggers.

(In case you're wondering, the pool water goes green in the winter as it isn't used and then the pool company bring it back to life for the summer - amazing!)

Gus was not impressed with this at all as he liked the drink out of it (Yuk!) 


Then the big boys toys arrived and starting smashing it all up for the grab lorry to come and take away.  


More building material arrive and a great shot of the portaloo!!


That's one big trench and one big retaining wall required!

The great thing is that once it's done and we finally have a lovely piece of flat lawn, we have a chalet on order for me to work from so I will have my own creative zen zone and the best bit is ... I DON'T HAVE TO SHARE IT!!!  

Can't Wait ...


Wednesday, 16 May 2012

Self Portrait


This was a tough assignment.

We are asked to produce a self portrait for our photography course.  Of course this would involve all the usual technical issues associated with getting the photograph right (help!), but more problematic, was deciding what we wanted to say about ourselves and how to capture that.

I spent the whole week trying to think what to do and then trying to think how to capture that idea on the camera.  But in the end, as the rain continued to pour down putting an end to on any outside shots, I decided that simple was best.

I didn't want to be a big feature in my self portrait as it was more about character and interests than my physical self.  So I set up this canvas in my living room and using a remote timer I took some shots.

I'm happy with the result but may re-visit the self portrait idea to see what else I can come up with.

x

Tuesday, 15 May 2012

You Fly, You Soar


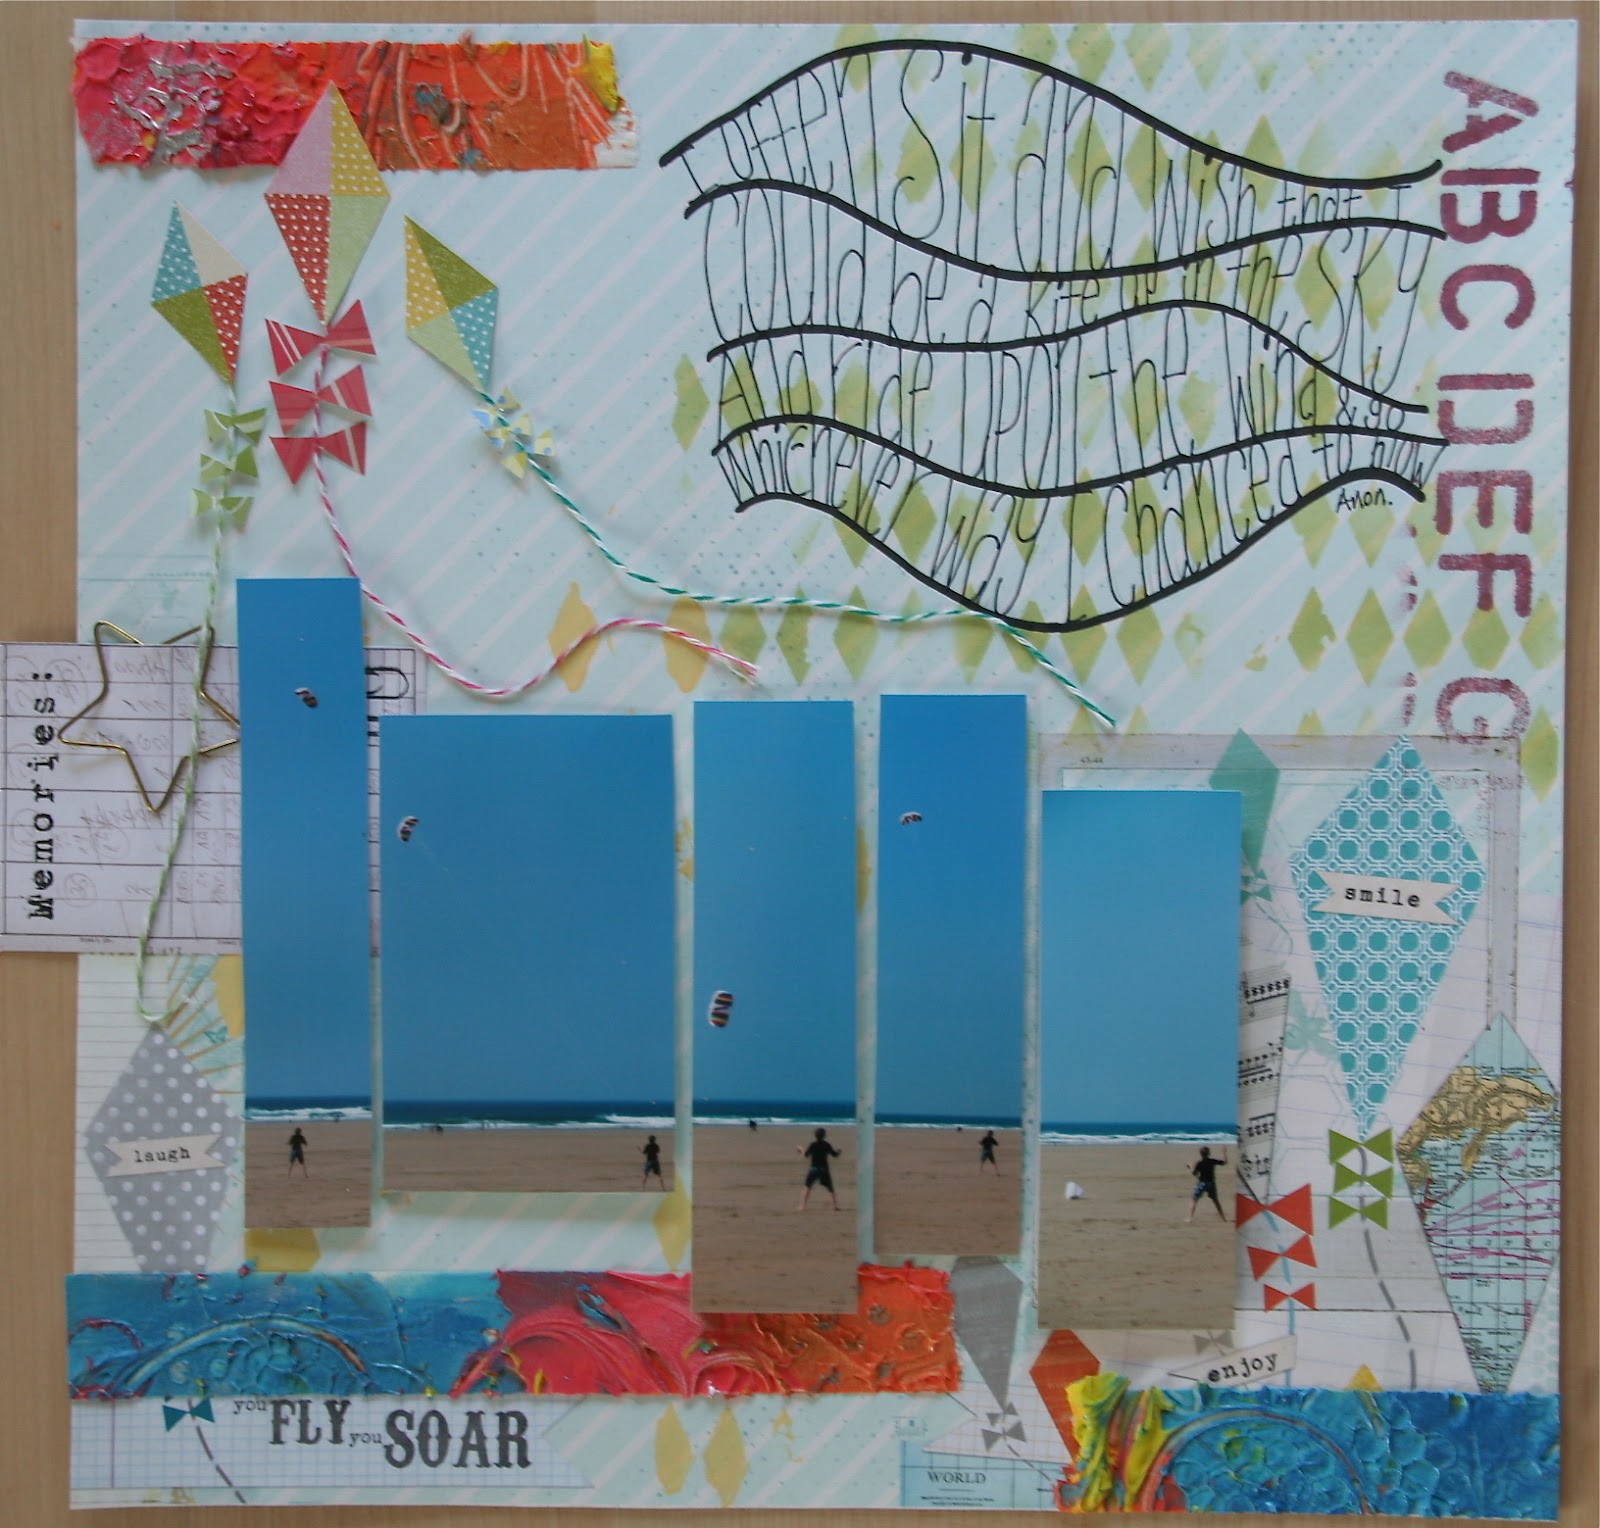
I didn't get this layout completed over the weekend as I struggled with getting it to come together.  It's funny -  I knew I was going to do a layout about kites so when I saw this paper in the shop, it seemed really perfect.  But in reality, I find papers with elements already included quite hard to cope with as I don't want to cover those parts of the sheet so it restricts my layout choices.  I definitely prefer a blank canvas and creating my own background so I can be free to place things wherever I want.  (Note to Self:  do not buy this kind of paper again!!)

I used acylic paint and a harlequin stencil to add interest and also an alphabet stencil using glimmer mist.

The kites were from a sheet which matched the paper so I added candy stripe string tails and cut little bows.


The photos of my son flying his kit were cut into different sized strips and mounted using 3D silicone glue to vary the depth. 


The new technique I used on this page was making the bright texture strips.  These were made using molding paste (Golden) which I coloured with acrylic paint and applied using various tools onto strips of masking tape.  When they dried, a rubbed them with several shades of Inka Gold.  

These strips are great as you can tear them to what ever length you want and add them to your page.  Mine are very bold but you can make them using plain molding paste which you can paint to match your scheme as you use them.  I stuck mine to a plastic box lid as it makes them very easy to remove when you want to use them.


I found the poem on a poetry website and journalled it between some wavy lines to finish the page off.


Play


Everyone loves dandelions clocks as they are just irrestible - sitting in meadows with their large fluffy heads arranged in a perfect ball just waiting to be picked and blown into the wind!


I took this photo last year and love the way I managed to capture the individual seeds blowing in the breeze.


This page was created using tissue, lace, old music, old napkins and stamps all fused together with bondaweb.  I made a large panel and as it had several layers, I did need to use some gel medium to fix some of the elements together.  I stamped butterflies and alium heads randomly onto my panel and added a little tissue tape here and there.


Once it was all dry, I stitched is using metallic thread in the sewing machine onto my background paper.  Metallic thread is gorgeous but can be a bit of a challenge to sew with due to the metal elements in the thread so be warned - you need patience!!


I used a zig-zag thread pattern and I held the paper still in the machine at some points to create more interest in the stitching.


I layered my photo onto a page from an old children's book and popped a small doily behind before added a large prima diamond and pearl embellishment.  I extended the embellishment by cutting sections from another diamond swirl so it covered most of the page height.


I grouped my old clock face and fairy girl in one corner with my sentiment, and the layout was finished. 

x


The Lost Gardens of Heligan


On the way down to St Ives, I met with my good friend Sue in St Agnes to drop into the one and only scrapbook shop that exists in Cornwall (sorry Linda - we did pop in!!)

Anyway, I bought this paper which is actually black and white and which reminded me of the blooms in this photo.  I had intended to use the paper 'bare' as it were, with just black and white additions but as you can see, this didn't really end up happening and I actually prefer it now!

I started by creating a black and white panel consisting of torn music tissue, lace, old music sheets and book pages and old sewing pattern tissue which I stamped with a large alium stamp.  I bonded all of this together using bondaweb and a hot iron on greaseproof paper.

I painted the edge of a couple of small doilies with Byzantia paint in Cerisanctum pink and then stuck them and the black and white panel across the centre of my page. 

Using leftoever strips of bondaweb, I adhered the rainbow voile to my page and using silver and violet stickles, I highlighted some of the areas on the top of the layout.


The textured panel was created using  a texture stamp (lisa pavelka) and light molding paste (Golden).  As these take 3 days to fully dry, Linda (Just Scrapbooking) had very kindly made some panels for us to use.  I painted my panel with Byzantia paint and then sewed some seed beads onto the edge.  The gorgeous metal embellishment is by Prima from their Vintage Trinkets range.


I used lace and braid down the centre of my page and created my journalling on my lovely old pink Royal typewriter.  The gardener's note is a fact I chanced upon when I was checking whether my bloom was a chive or an alium!  I haven't ever used the flowers although I have got this plant in my garden so next time I make a potato salad, I'm going to put these flowers on top as they will look amazing!

Using the bondaweb to make background panels was a new technique, as was the use of fine gauzy material place over all or some of a layout.  Both are great things to try and are attributed to Linda for teaching them to me - thank you!!

x


Boys


I am really pleased with this layout as it just came together quite unexpectedly.  


I covered a plain page with gesso and then created a pattern in it using a pointed skewer and stamped my regal goldfish into it.  When this was dry and painted in my goldfish with acrylic paint and painted the background using colourwash sprays and byzantia paints.  The textured areas were done using fresco flakes over the wet paint.


As the goldfish were still rather vague, I added a little more acrylic paint with a fine brush to bring out the details and a charcoal pencil for shading.  Their crowns are outlined with a gold stickle.


The background for the photograph used Viva Ferro in Graphite and Gold Green which I applied to the cardstock with a spatula through sequin waste.  When this was dry, I highlighted the texture with silver Inka Gold.


The tiles were originally patterned but I painted them with Gesso before stamping the chinese letters in staz-on ink.


The title letters were painted with black acrylic, hightlighted with glossy accents to which I added Beadazzle beads.

A rub on in the corner (which I would not recommend again over metallic acrylic paints - it nearly broke my wrist getting it to transfer!!) and some journalling and the page was complete.


Fruit Market


This was another layout I completed over the weekend.

I started by tearing up some chinese newspaper which I was given some time ago and which was ideal for my Thailand photographs.  I stuck the various pieces on the page and then added strips of masking tape to some areas for more texture in the background.

I combined gesso with acylic paints and Byzantia paint (Stewart Gill) to match the colours in the photograph of the fruit stall.  I added various stamps inked with staz-on to complete the background.


It's hard to see in the photo but I created a basket effect in pearl white paint by painting in opposite directions for the photograph to be matted on to.  I used miniature bobble braid and three small pearls to finish the frame.


I tucked a small doily behind the photograph onto which I added my flower stem (Prima) and a gorgeous large pearl button.


I tied a small luggage tag onto my flower which I just used to add the date of the photograph.


The final touches were the addition of the title for my page, a butterfly lozenge and a little Tim Holtz tissue tape.

Paradise


Having just returned from a fantastic family holiday in Thailand, I've just been lucky enough to hop off down to St Ives in Cornwall for a scrapbooking retreat.  It's just so good to get 2 days of uninterrupted time to really get creative.  

I created this page by colouring some glass bead gel to create my sea into which I drew some wavy lines before adding some glitter, sequins, shells and fish. 


Once this was dry I added the fabric section using bond-a-web sheets.  The scrunchy flowers were made from the same material which I hot glued into a loose shape before heating carefully with the glue gun to melt them slightly.  

My title was stamped with Staz-on ink onto Canvas and then spritzed with adirondack colour wash in butterscotch and stream.

I added a couple more small embellishments, a little background interest with white acrylic paint and finished the layout by inking the corner with distress ink.

Complete! x

Thursday, 10 May 2012

Beach Hut Birds


It's taken 8 years on the waiting list but finally we were allocated our own beach hut this year!!  It's right near our home in a great spot so we were really lucky to get one there.  

When we opened it up, it was looking rather sad so we got it re-decorated and kitted out with new units and some half timbering so make it feel fresh and beachy.

It needed something else ... so enter onto the stage my two Gulls. 

I had a couple of cards by an artist called Barbara Khan which I bought to keep and so I used her very simple style to paint my friends onto the wall.  I was a bit nervous doing this on the walls as there wasn't much room for error if I wasn't going to have to repaint the walls but I really enjoyed this project with my radio on the huge expanse of beach in front of me.

If anyone else wants a beach hut project done ...

x

Friday, 4 May 2012

Burst the Balloon

Well, I've finally returned to my computer after about a month of being away on holiday and then playing catch up with everything at home.  Life's like that isn't it?  Sometimes there are periods when you are just so frantically busy with 'stuff' - nothing really big - just regular 'stuff' in huge quantities that creative time just vanishes.  

OK, I've had my moan and I'm off the soap box!!


I wanted to share this photo with you all that I took last night on the second stage of my photography course.  

We filled balloons with water and suspended them on a pole over a bin to try and contain at least some of the mess!  Our tutor then burst threw a dart at the balloon after a count of 3 and we had to try and capture the action in a single shot.  This was my third attempt - I was a fraction too late on the first two attempts and the results of these are show below.


A great evening and another technique learned; I'm loving what you can do with a camera!


x